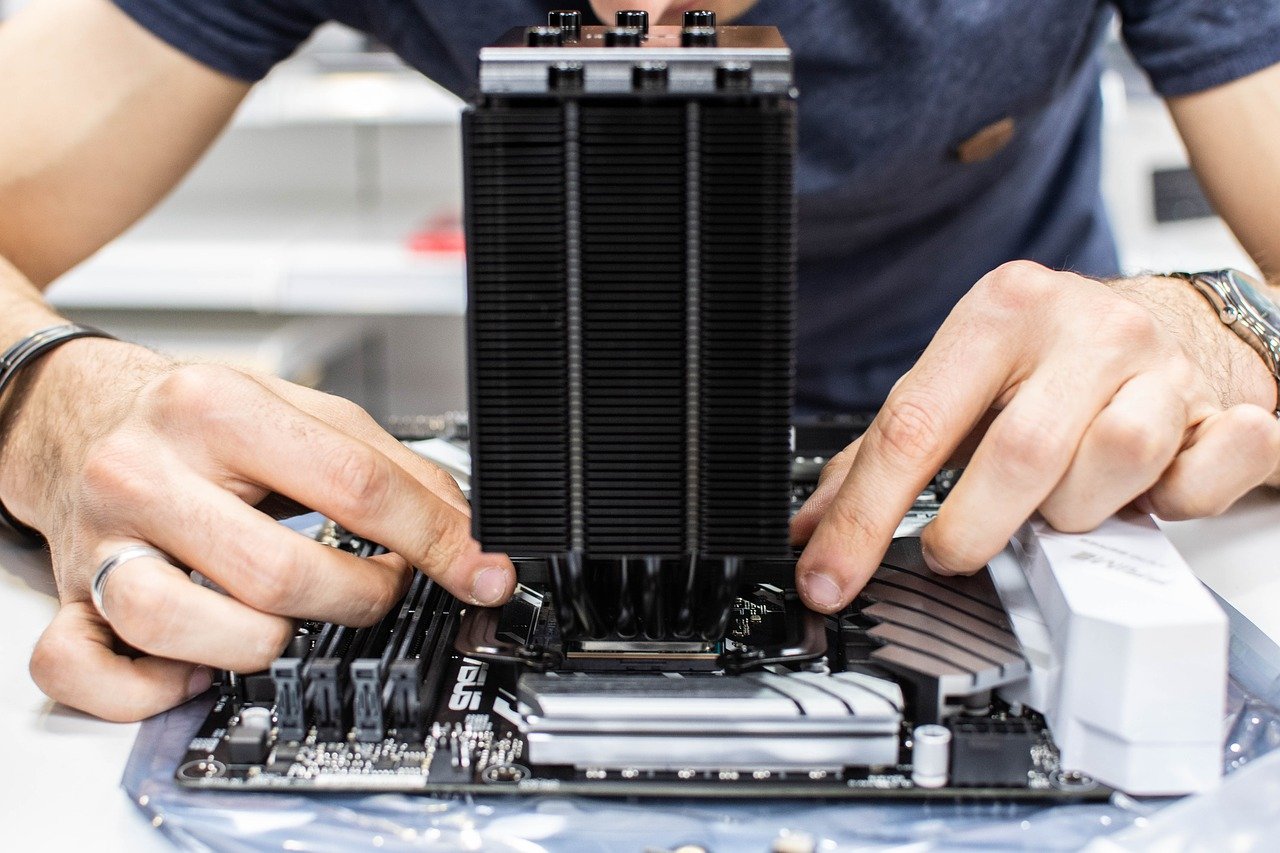
MinisforumのミニPC「EliteMini B550」を買いました。1年ちょっと使ってきたアプライドのデスクトップBTO PCのファンを煩く感じるようになってしまったので、高性能で、静かで、小さくて、でもグラフィックボードを外付けできると評判のミニPCに移行することにしたのです。
AMD Ryzen 7 5700G(8コア16スレッド)だけを搭載したベアボーンを購入し、そこに64GBのメモリと2TBのSSDを載せました。OSはWindows 11 Proです。
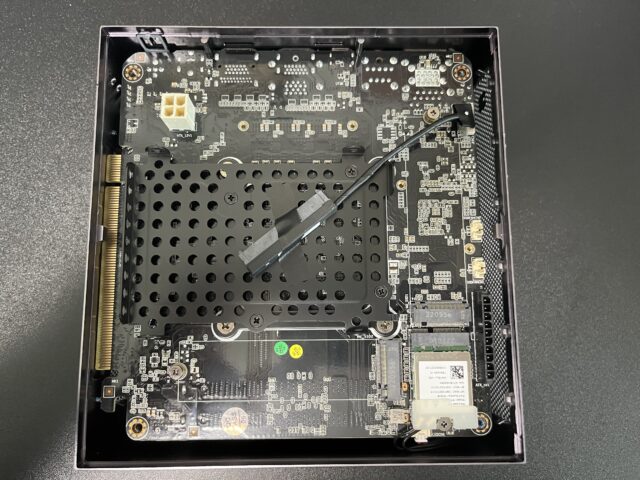
こちらがB550の内部。左に見えるコネクタを付属のベース部品に取り付けるとグラフィックボードを挿せるようになります。
しばらくは単なるWindows PCと、Hyper-VでUbuntuを動かしてWebサーバとして活用していたのですが、ここに来てディープラーニングのお仕事が入ったので、ついにグラフィックボードを搭載してみることにしました。
B550でグラフィックボードを使う場合は、別にATX電源を準備して、そこからPC本体とグラフィックボードの補助電源を供給するのが基本。YouTubeに上がっているレビューではATX電源の置き場所に困るという話が出ていたのですが、私が購入した際にはATX電源を設置するための金具も同梱されていました。
ただ、グラフィックボードの中には補助電源が不要なものもあります。その分だけ性能は劣るのですが、まずはB550活用の初級編と思って、玄人志向のGTX1650を搭載した補助電源不要のグラフィックボードを購入。B550に取り付けてみました。
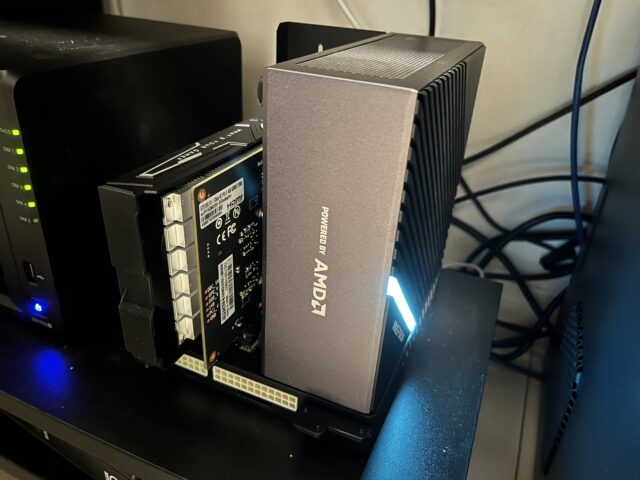
取り付けはあっという間に終了しました。B550本体を縦に置いて先ほどのコネクタをベースに挿し、その横にグラフィックボードを挿したら終わり。
まずは、Windowsでドライバを導入します。
WSL2環境でディープラーニング環境を整える
次に、WSL2環境でGPUを活用したディープラーニング環境を整えます。
こちらのサイトを参考にさせていただきました。
ちなみに、WSL2環境の作成はこちらなどを参考に。
CUDA
まずは、CUDAから。
こちらのサイトにアクセスして、Linux→x86_64→WSL-Ubuntu→2.0→deb (local)と選んでいくと、導入方法が表示されるので、そのとおりに操作します。
CUDA 11.7が導入されました。
wget https://developer.download.nvidia.com/compute/cuda/repos/wsl-ubuntu/x86_64/cuda-wsl-ubuntu.pin
sudo mv cuda-wsl-ubuntu.pin /etc/apt/preferences.d/cuda-repository-pin-600
wget https://developer.download.nvidia.com/compute/cuda/11.7.1/local_installers/cuda-repo-wsl-ubuntu-11-7-local_11.7.1-1_amd64.deb
sudo dpkg -i cuda-repo-wsl-ubuntu-11-7-local_11.7.1-1_amd64.deb
sudo cp /var/cuda-repo-wsl-ubuntu-11-7-local/cuda-96193861-keyring.gpg /usr/share/keyrings/
sudo apt update
sudo apt install cuda
Docker
次にNVIDIA Dockerを導入します。
curl https://get.docker.com | sh
Docker Desktop for Windowsを使うように促されますが、無視して待っているとインストールが始まります。
WSL DETECTED: We recommend using Docker Desktop for Windows.
Please get Docker Desktop from https://www.docker.com/products/docker-desktop

You may press Ctrl+C now to abort this script.
次に、NVIDIA Dockerをインストールします。
distribution=$(. /etc/os-release;echo $ID$VERSION_ID)
curl -s -L https://nvidia.github.io/nvidia-docker/gpgkey | sudo apt-key add -
curl -s -L https://nvidia.github.io/nvidia-docker/$distribution/nvidia-docker.list | sudo tee /etc/apt/sources.list.d/nvidia-docker.list
sudo apt update
sudo apt install nvidia-docker2
sudo service docker start
下記のようにすると、NVIDIA Dockerの動作確認ができます。
sudo docker run --gpus all nvcr.io/nvidia/k8s/cuda-sample:nbody nbody -gpu -benchmark
私の環境では、このように表示されました。ちゃんと「NVIDIA GeForce GTX 1650」が認識されています。性能はそこそこですね・・・。
Run "nbody -benchmark [-numbodies=]" to measure performance.
-fullscreen (run n-body simulation in fullscreen mode)
-fp64 (use double precision floating point values for simulation)
-hostmem (stores simulation data in host memory)
-benchmark (run benchmark to measure performance)
-numbodies= (number of bodies (>= 1) to run in simulation)
-device= (where d=0,1,2.... for the CUDA device to use)
-numdevices=<i> (where i=(number of CUDA devices > 0) to use for simulation)
-compare (compares simulation results running once on the default GPU and once on the CPU)
-cpu (run n-body simulation on the CPU)
-tipsy= (load a tipsy model file for simulation)</i>

NOTE: The CUDA Samples are not meant for performance measurements. Results may vary when GPU Boost is enabled.

> Windowed mode
> Simulation data stored in video memory
> Single precision floating point simulation
> 1 Devices used for simulation
GPU Device 0: "Turing" with compute capability 7.5

> Compute 7.5 CUDA device: [NVIDIA GeForce GTX 1650]
14336 bodies, total time for 10 iterations: 22.216 ms
= 92.512 billion interactions per second
= 1850.230 single-precision GFLOP/s at 20 flops per interaction
cuDNN
次にcuDNN。ダウンロードにはNVIDIA Developerの登録が必要です。
こちらのサイトから、OSとCUDAのバージョンに合わせてダウンロードします。
WSL2上でUbuntu 20.04 LTSを使っていて、先ほどCUDA 11.7をインストールしたので、「cuDNN v8.5.0 (August 8th, 2022), for CUDA 11.x」の「Local Installer for Ubuntu20.04 x86_64 (Deb)」にしました。
Windows上でダウンロードしたdebファイルを、Ubuntuのホームディレクトリにコピーしておきました。
sudo dpkg -i cudnn-local-repo-ubuntu2004-8.5.0.96_1.0-1_amd64.deb
sudo cp /var/cudnn-local-repo-ubuntu2004-8.5.0.96/cudnn-local-0579404E-keyring.gpg /usr/share/keyrings/
sudo apt update
sudo apt install libcudnn8 libcudnn8-dev libcudnn8-samples
cuDNN上でMNISTを動かしてみて、動作確認です。
sudo apt install libfreeimage3 libfreeimage-dev
cp -R /usr/src/cudnn_samples_v8/ $HOME
cd cudnn_samples_v8
make clean && make
./mnistCUDNN
このように表示されました。問題なく動作しているようです。
Executing: mnistCUDNN
cudnnGetVersion() : 8500 , CUDNN_VERSION from cudnn.h : 8500 (8.5.0)
Host compiler version : GCC 9.4.0

There are 1 CUDA capable devices on your machine :
device 0 : sms 14 Capabilities 7.5, SmClock 1605.0 Mhz, MemSize (Mb) 4095, MemClock 6001.0 Mhz, Ecc=0, boardGroupID=0
Using device 0
(中略)
Resulting weights from Softmax:
0.0000000 0.0000000 0.0000000 1.0000000 0.0000000 0.0000714 0.0000000 0.0000000 0.0000000 0.0000000
Loading image data/five_28x28.pgm
Performing forward propagation ...
Resulting weights from Softmax:
0.0000000 0.0000008 0.0000000 0.0000002 0.0000000 1.0000000 0.0000154 0.0000000 0.0000012 0.0000006

Result of classification: 1 3 5

Test passed!
この後、TensorFlowやら何やらのインストールが必要ですが、それはまた次回。本当の目的はAutoKerasを動かしてみたいのです。(TnesorFlowを動かしてモデルを作る程度ならM1 MacBook Proで問題なくできたのですが、どうにもAutoKerasが導入できなかったのです。で、やっぱりWindows PC+NVIDIA GPUの構成だろうと思ったのが、今回の環境構築の発端・・・。)

